

Innovative Dental Solutions
Rhondium develops restorative systems that make dentistry easier, faster, and more predictable. From matrix systems to separator rings, our products are engineered to deliver clinical precision and better patient outcomes.

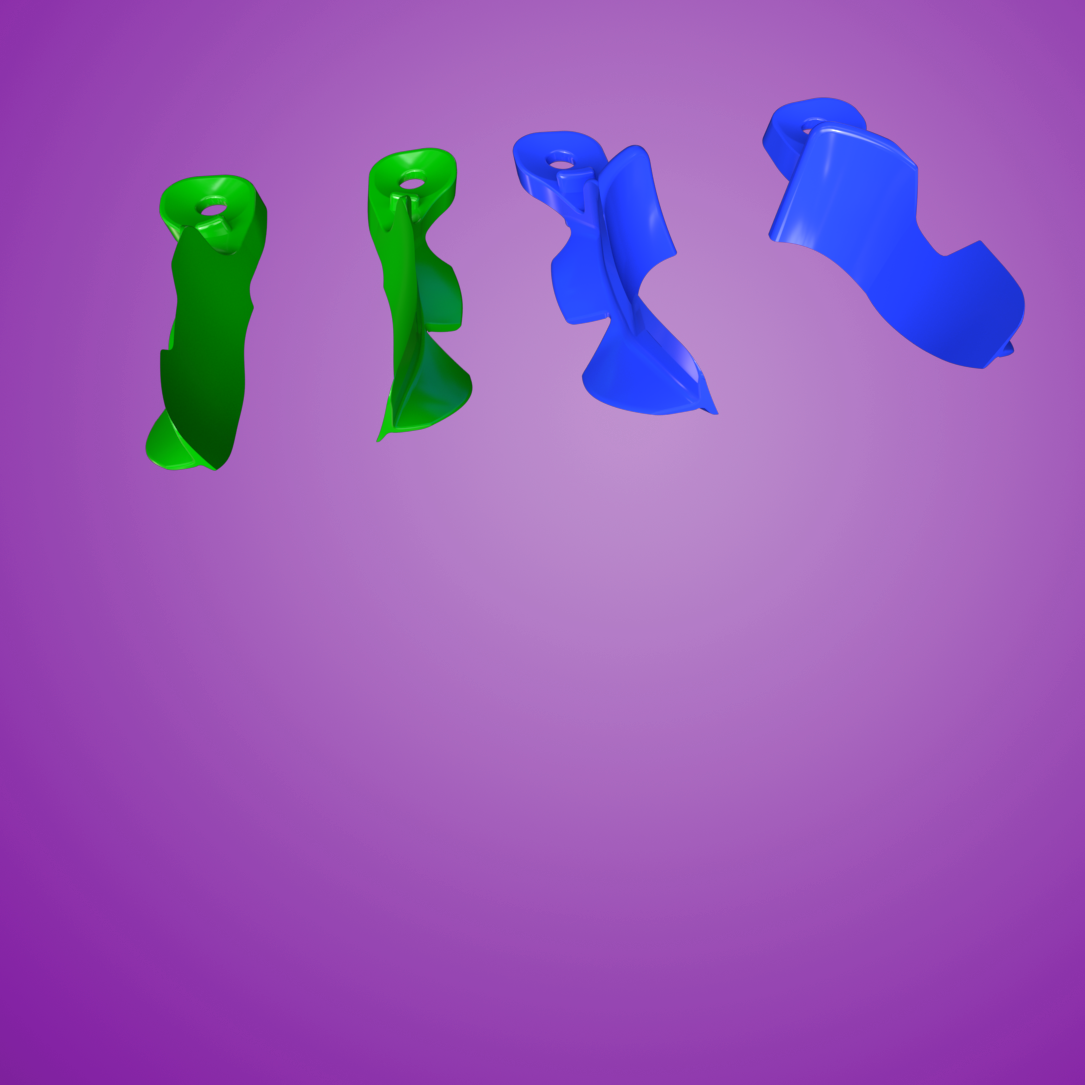


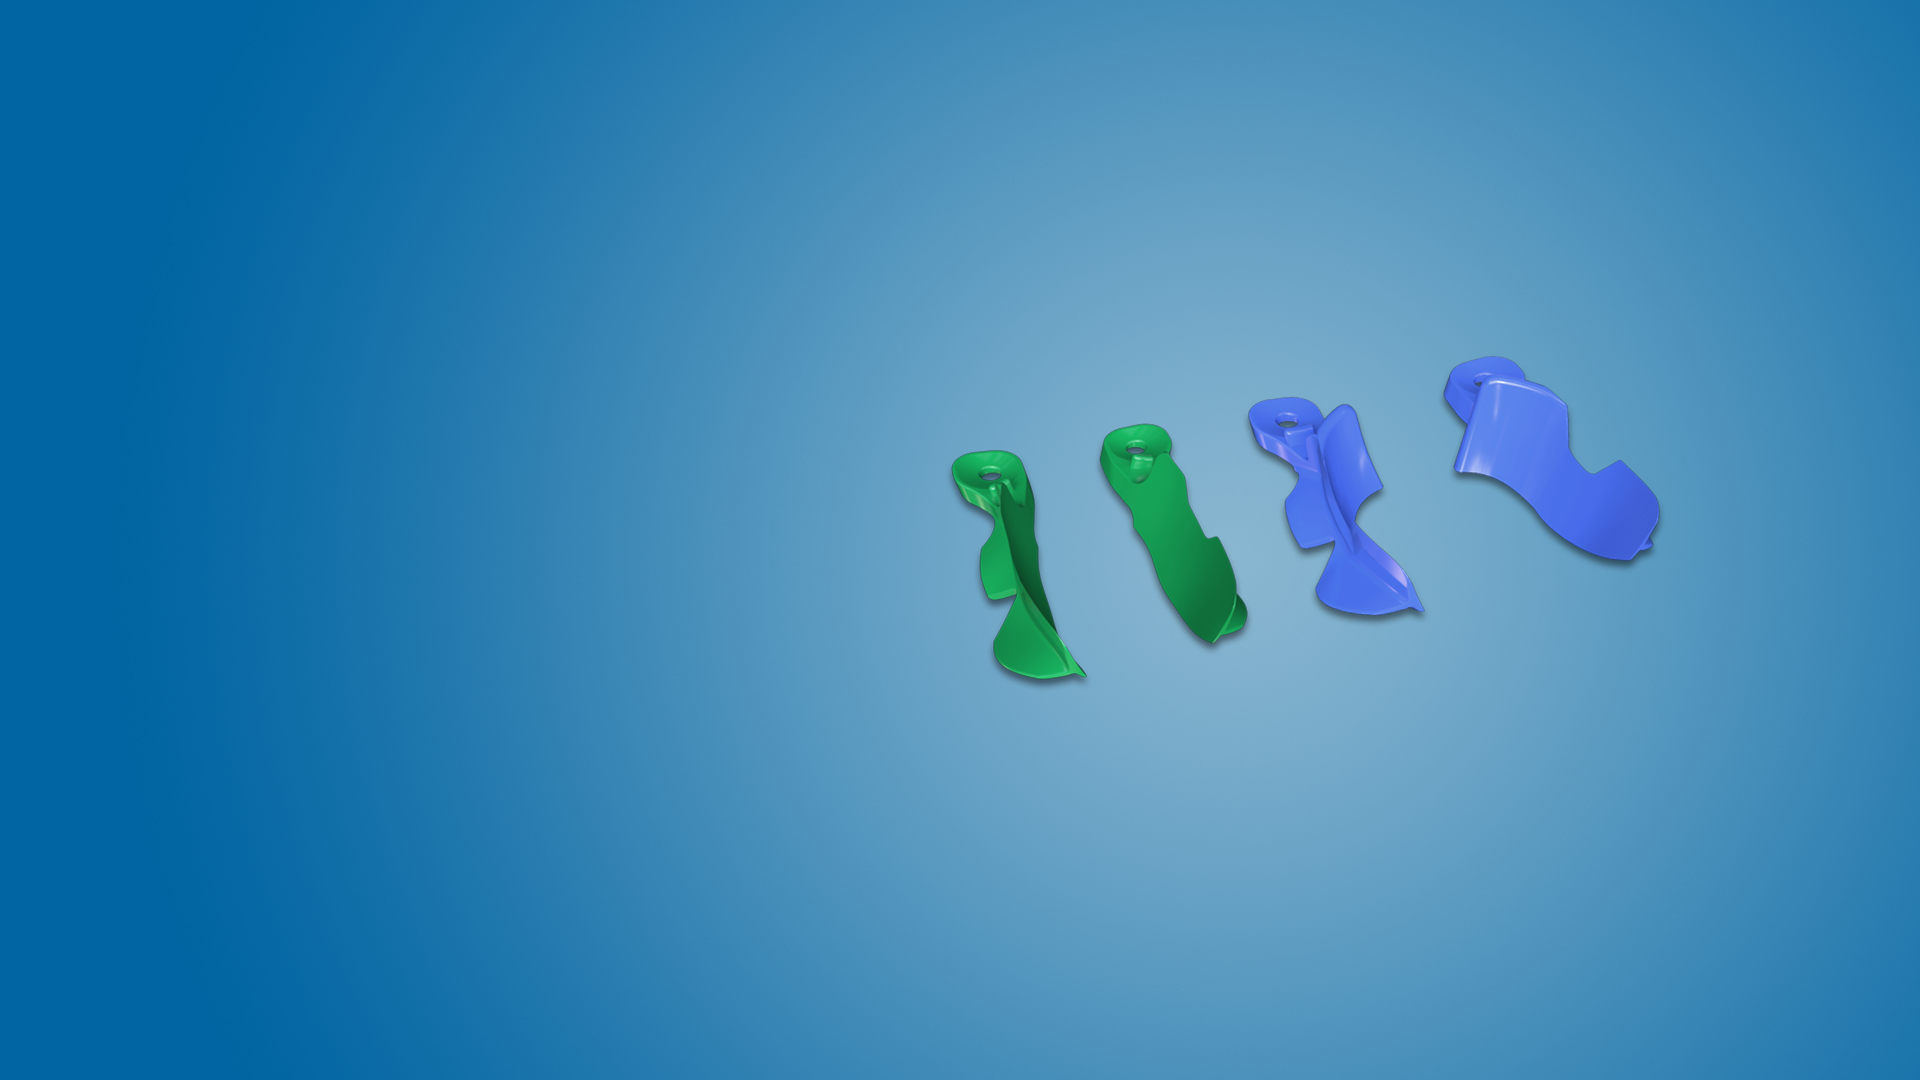
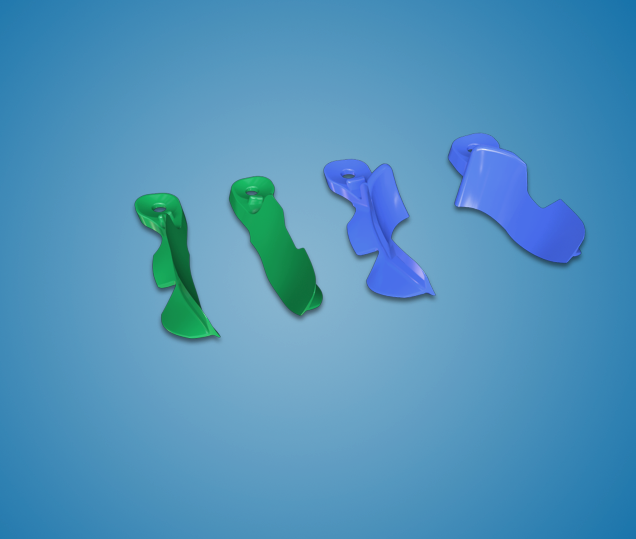
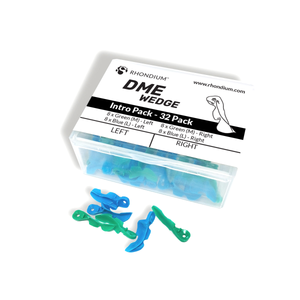
DME Wedge

Clinicians Thoughts
Shop DME Wedge
-
 Vendor:Rhondium Online Store
Deep Margin Elevation Wedge Intro Pack
Regular price $69.00NZDRegular price -
 Vendor:Rhondium Online Store
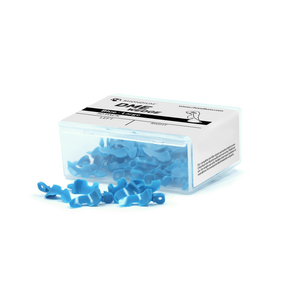
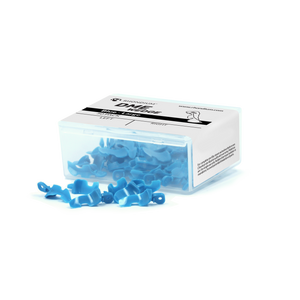
Deep Margin Elevation Wedge – Blue Large – 50 Pack
Regular price $105.00NZDRegular price -
 Vendor:Rhondium Online Store
Deep Margin Elevation Wedge – Green Medium – 50 Pack
Regular price $105.00NZDRegular price -

 Vendor:Rhondium Online Store
Deep Margin Elevation Wedge – Green & Blue – 100 Mixed Pack
Regular price $199.00NZDRegular price


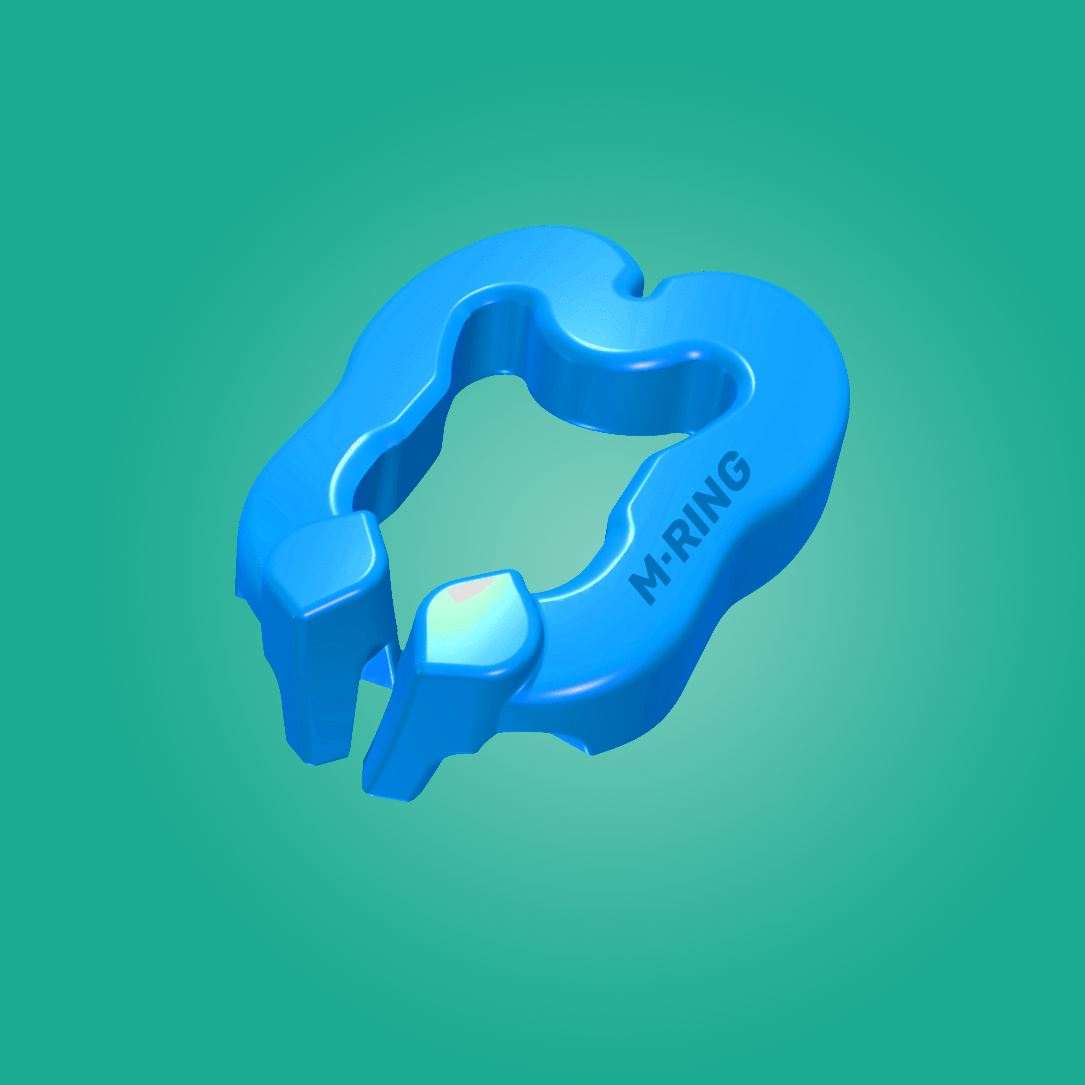
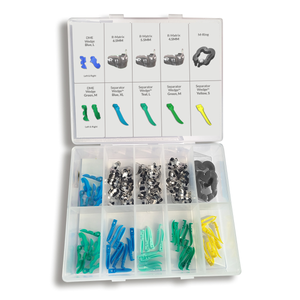
New M-RING
Shop M-Rings
-
 Vendor:Rhondium Online Store
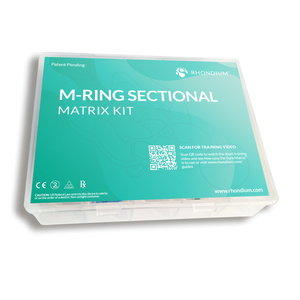
M-Ring Sectional Matrix Intro Kit
Regular price $149.00NZDRegular price -

 Vendor:Rhondium Online Store
M-Ring Sectional Matrix Kit
Regular price $229.00NZDRegular price -
 Vendor:Rhondium Online Store
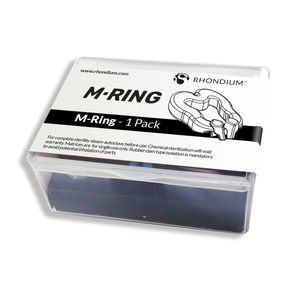
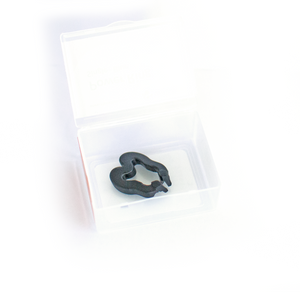
M-Ring - Single
Regular price $29.99NZDRegular price


What Dentists Say
-

Deliver your clinical best on every case
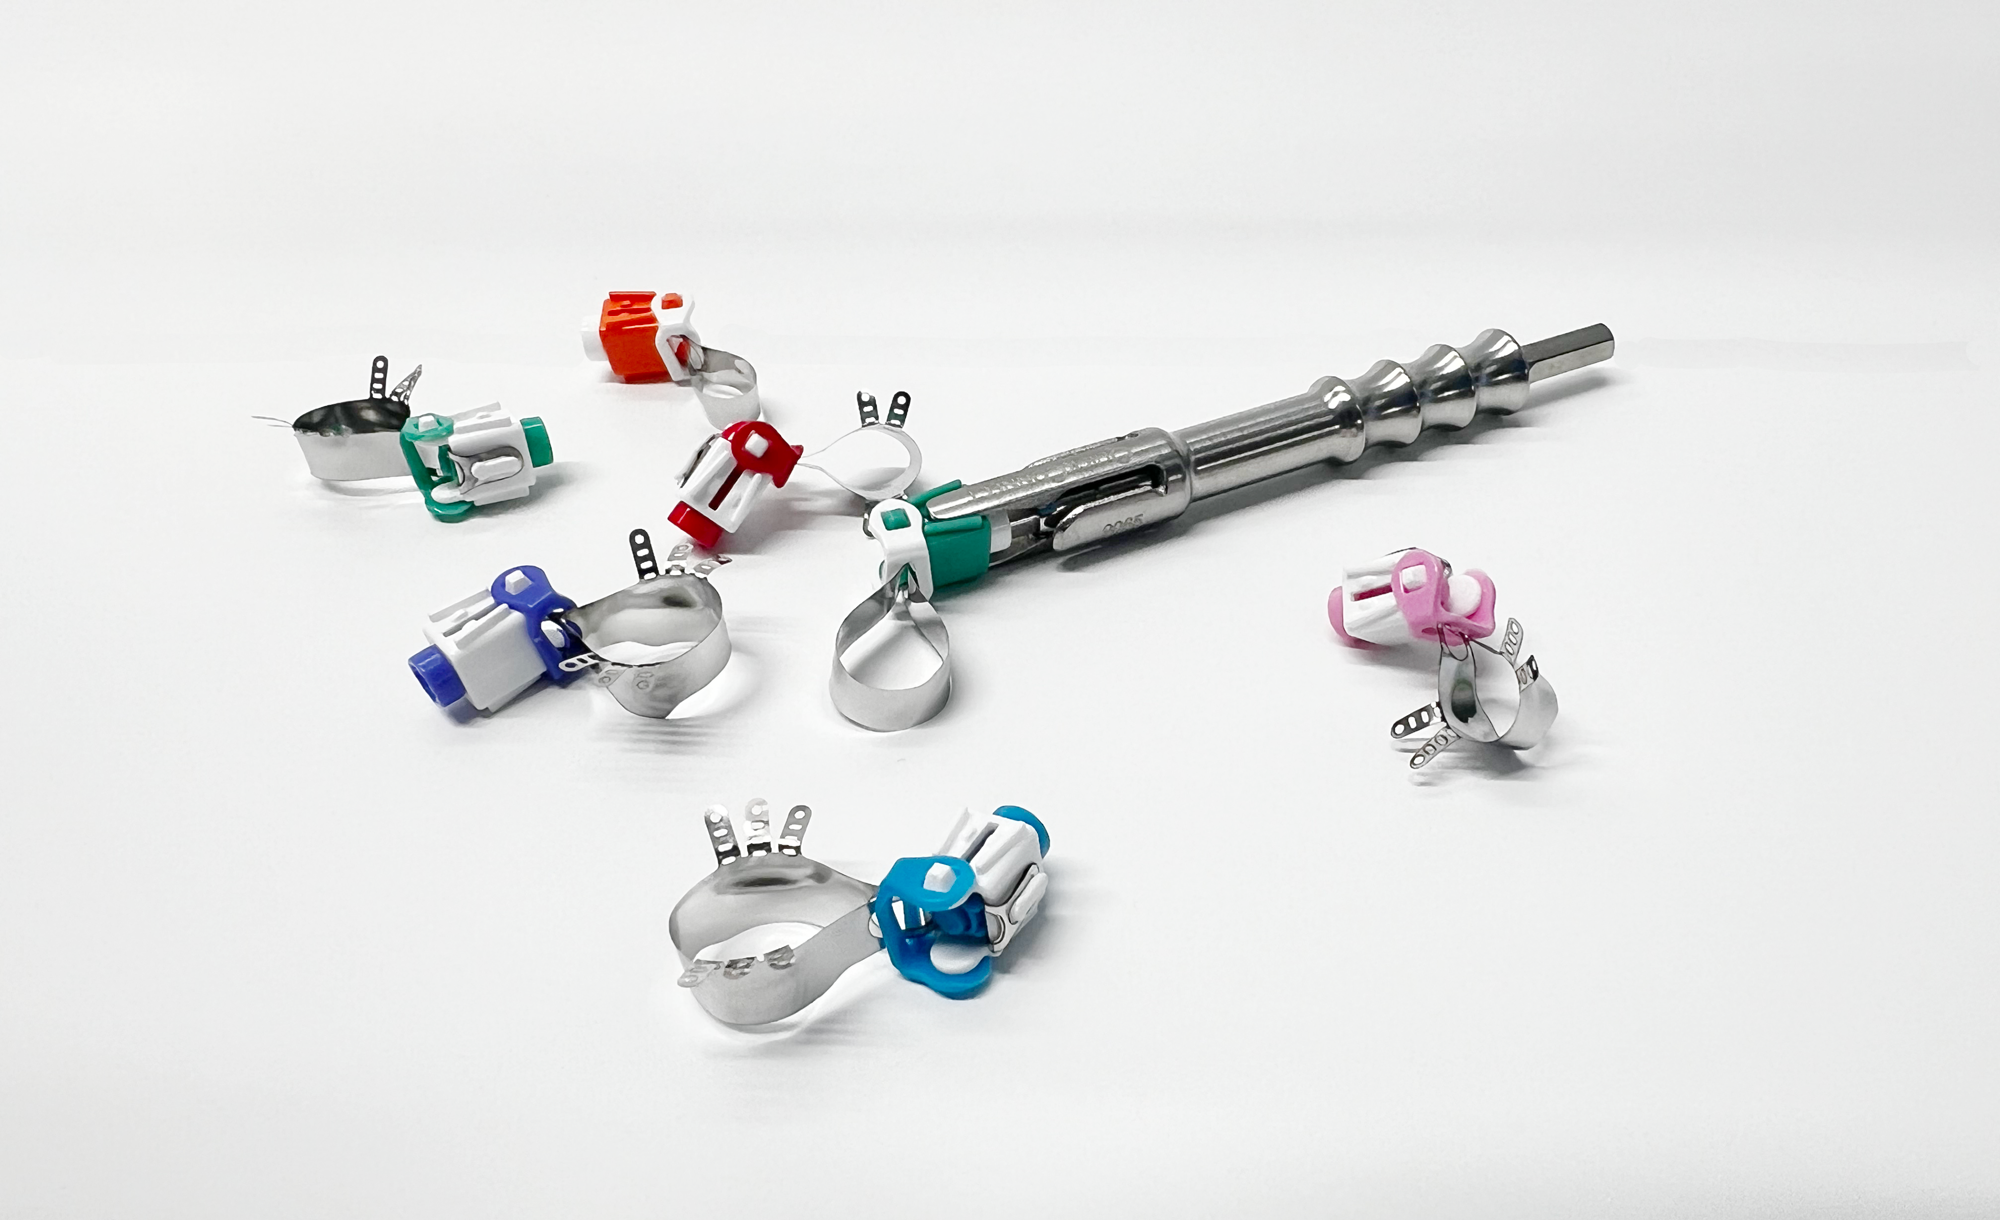
The QuickConnect Anatomy Band is an amazing system, you haven’t seen anything like this yet! If you are looking to deliver your clinical best on every case, with great contacts and amazing anatomical contours, you need to check this out.
-

I couldn’t work without it.
I have found the QuickConnect anatomy matrix system an extremely beneficial tool to have in my armamentarium. It fulfills a need that has been missing for a long time in the restoration of severely broken down teeth that required multiple stages to complete the restoration. Full composite crowns are much easier to achieve now. I couldn’t work without it.
-

Stable, Secure, and Easy to Use.
I’m very happy with my QuickConnect kit. The bands and carrier snap together cleanly and separate without disturbing placement. They tighten securely, stay stable, and there’s no risk of pinching soft tissue. I regularly use the subgingival bands, and my go-to sizes are the 6.5mm bands for multi-surface posterior composites.


-
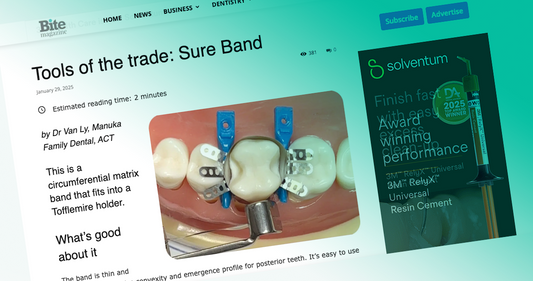
Bite Magazine publishes article on Rhondium’s S...
-

Rhondium Founder Featured on Inventor’s Spirit ...
-
DPR Names QuickConnect Anatomy Band in Top 10 R...


