How Can We Help?
How do I quickly achieve the correct amount of occlusion reduction of my prep?
It’s common for dentists to take longer than they expect when preparing their first OVC cases until they become proficient with the technique. This can be a time consuming process if you are too over cautious and need to keep asking the patient to bite down to check, re-trim, then check, and re-trim etc.
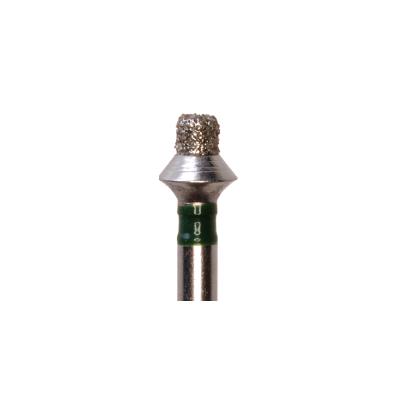
Tip 1 – Use an occlusal reduction burr
We recommend the use of an occlusal reduction burr to speed up the initial tooth reduction.
Many manufactures supply these type of burrs. Patterson Dental has a range as pictures above.
Tip 2 – Correct use of the Occlusal Reduction Guide
It is important to achieve the correct occlusal clearance before starting the OVC customisation.
Allow at least 1 mm of clearance in the central fossa and 1.5 mm at the cusps and marginal ridges. OVC Occlusal Reduction Guides (which are the same thickness as the hard occlusal layer of the OVC) are supplied to confirm the minimum required clearance is achieved.
Some experienced OVC users have said that they prefer to have the guide moving around when the patient has fully bitten down as this small amount of extra clearance makes the seating of the OVC later in the process easier.


Here is another angle showing how you much movement you’d ideally want with the Occlusal Reduction Guide.
Tip 3 – Use an Occlusal Spray marker to find high spots.
The Occlusal Reduction Guide can be covered on both sides with a coloured occlusal indicator spray such as Bausch Arti-Spray® to aid high spot identification. Place the sprayed Occlusal Reduction Guide over the dried prep and get the patient to gently bite. This will leave a coloured mark on the high spots that need further trimming.
Though not as effective, if you did not have this on hand, you could use a piece of articulating paper.
Tip 4 – Watch Dr Terry Wong’s tooth preparation video
Tip 5 – Dr Adam Doudney Shows how he does his tooth prep


